


1
/
of
9
Graphics Guys Motorsports
OLD SKOOL Style Iron-On Jersey Prints
OLD SKOOL Style Iron-On Jersey Prints
Regular price
$40.00
Regular price
Sale price
$40.00
Unit price
/
per
Couldn't load pickup availability
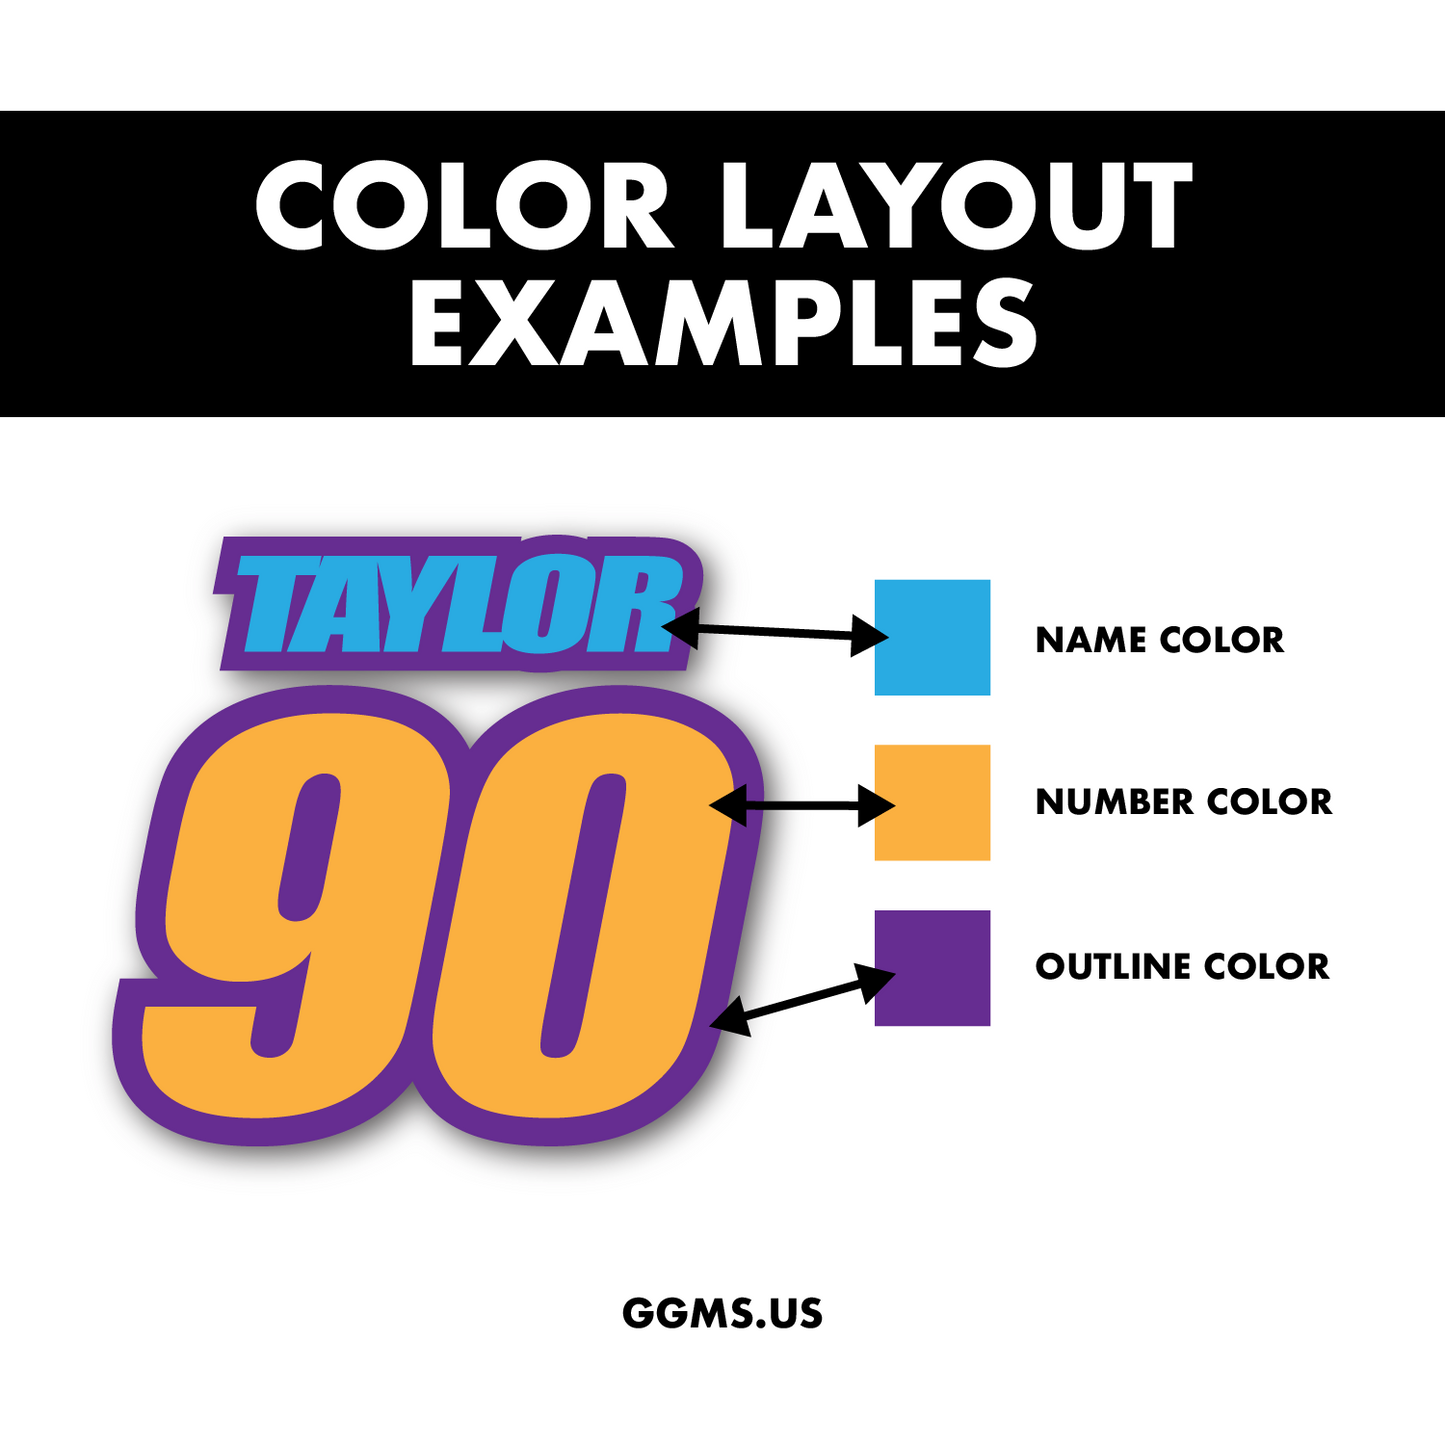
At Graphics Guys, we have created a full line of pre-designed Iron-On Jersey Prints for your convenience, saving you time and money. Each jersey print comes complete with your name, number, and logos, as you specified during the order process.
JERSEY PRINT INCLUDES:
GGMS Jersey Prints include
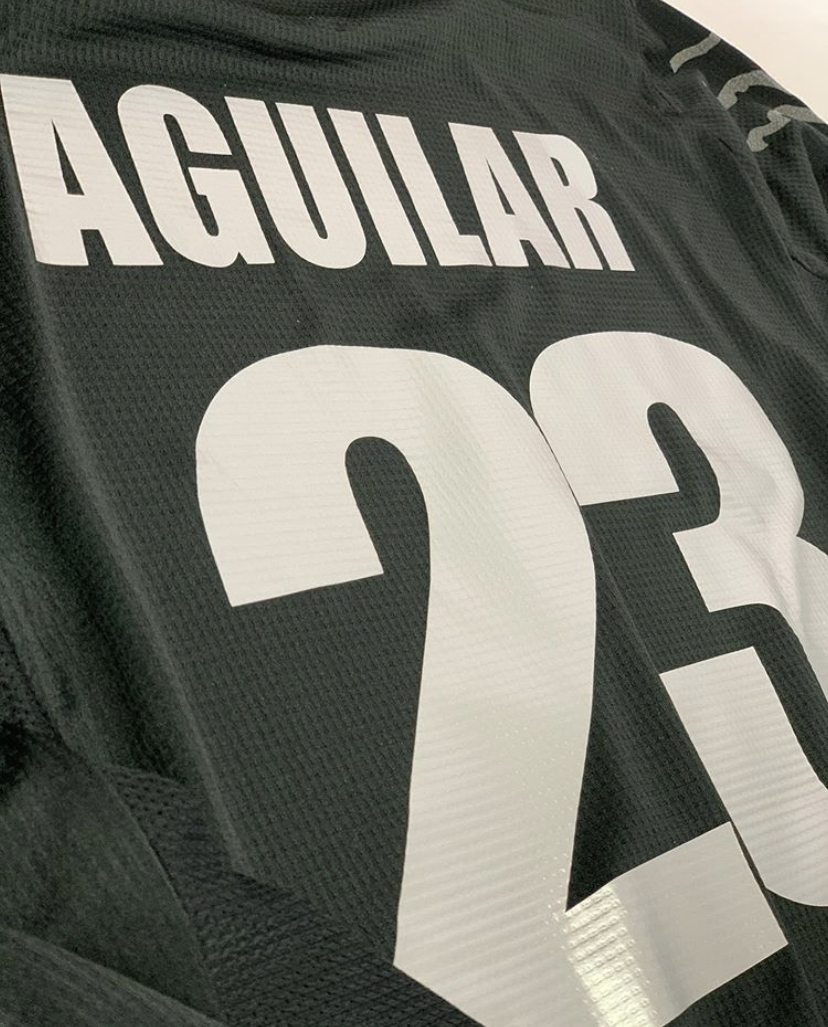
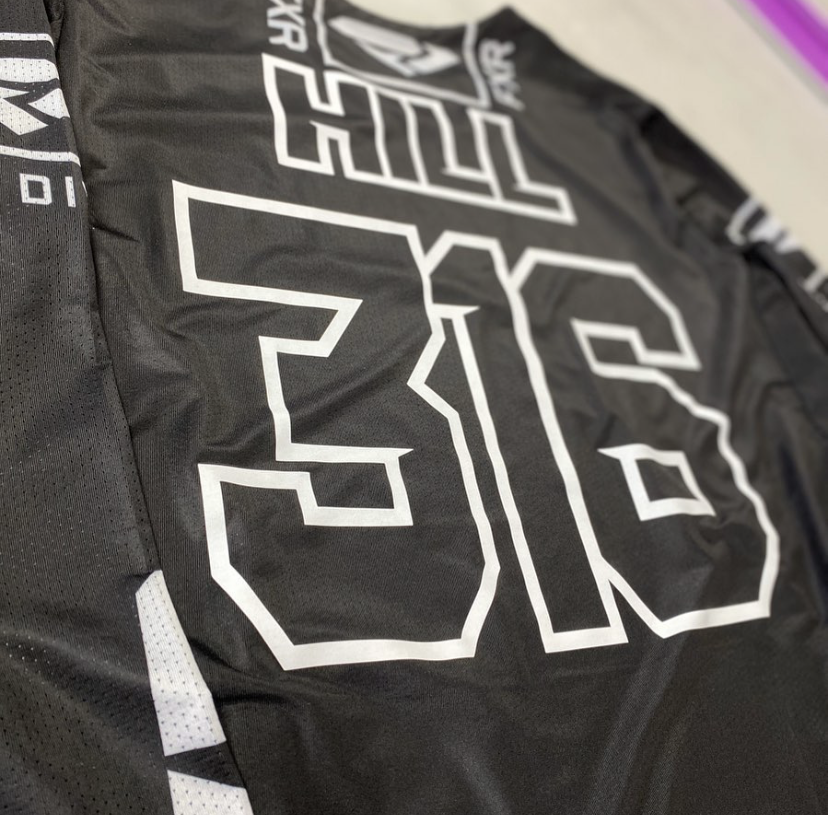
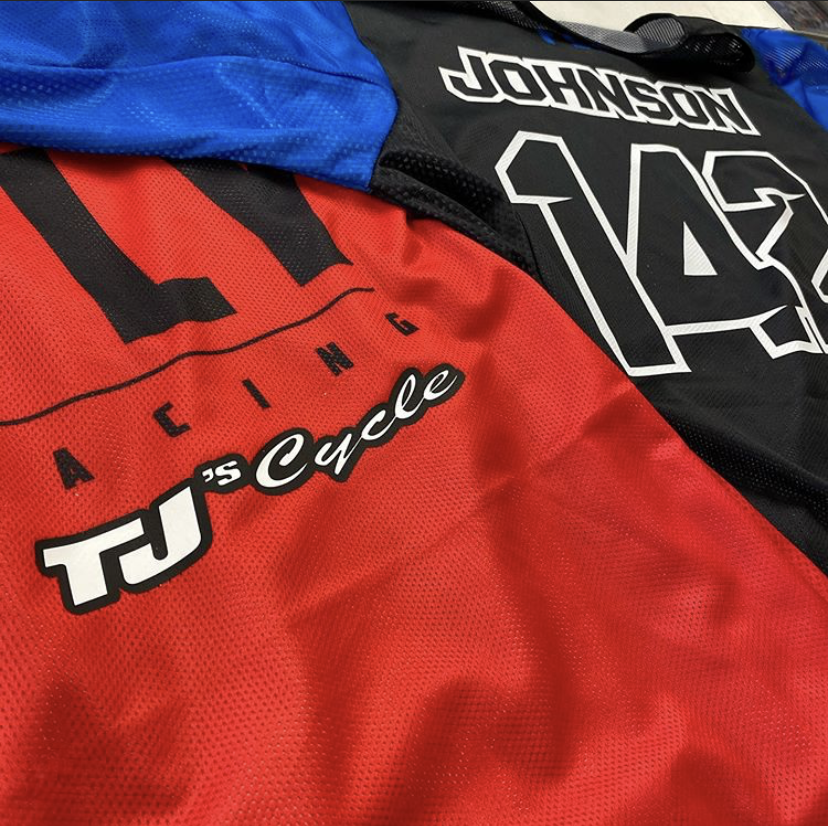
1 x Rear Jersey Print made of Heat Transfer material, with app tape applied, ready for installation
1 x Installation instructions sheet
GGMS Jersey Prints include
1 x Rear Jersey Print made of Heat Transfer material, with app tape applied, ready for installation
1 x Installation instructions sheet
ORDER PROCESS: Upon receiving your order, we will create the artwork exactly as you have requested. If you have asked for a Design Proof, we will email you the proof for your confirmation before printing. After your approval, we will print and prepare your order for delivery.
QUALITY: Our jerseys are printed using high-quality Heat Press material, ensuring they last long, retain their color strength, and remain durable even after multiple washes. You don’t have to worry about fading or washing out of colors even after washing your jerseys with our prints. If you notice any crinkles on the prints, cover them with baking paper and iron them again to make them flat and neat.
Please Note: The final design may have slight changes, such as line angles and fine details, to accommodate different names/numbers. These changes will be hardly noticeable.
*FOR ANY PERSONAL OR NON-INDUSTRY STANDARD LOGOS, PLEASE CONTACT US AT SALES@GGMS.US WITH THE LOGO IN .PDF FORMAT AND REFERENCE YOUR ORDER NUMBER IN THE SUBJECT LINE SO WE CAN ADD YOUR LOGO.
Share

JERSEY INSTALL INSTRUCTIONS
BEFORE INSTALLATION:
It is crucial to make sure that your jerseys are clean and dry before you install prints on them. Even if your jerseys are new, it is advisable to wash them first to prevent any excess ink from bleeding out during the first wash. If not removed before installation, this excess ink can damage your new prints.
It is crucial to make sure that your jerseys are clean and dry before you install prints on them. Even if your jerseys are new, it is advisable to wash them first to prevent any excess ink from bleeding out during the first wash. If not removed before installation, this excess ink can damage your new prints.
INSTALLATION:
1. For a smoother installation process, we suggest laying your jersey flat and placing a piece of cardboard inside to help it stay in place. This can make the process much easier and more efficient.
2. To remove the reverse translucent layer from a jersey print, first place the print face down on a bench. Slowly peel back the layer, ensuring the print stays stuck to the front transparent transfer layer. Start by pulling the corner and then using short, sharp intervals until the layer is completely removed.
3. To place the jersey print on the jersey, position it as desired. The transfer layer is transparent and somewhat sticky, which helps the print to stay in place during heating. However, it is not extremely sticky, so you can easily reposition the print before heating if you find your first placement is different.
4. Heat the print with a heat press or household iron at 265-300F degrees for around 20 seconds, with Medium pressure. Try to heat it consistently.
5. While the print is still warm, smoothly and slowly peel off the transparent transfer layer to expose the print, which will now be stuck to the jersey. If the transfer print is not sticking to the jersey, lay it back down and reheat it further.
6. Once the transparent transfer layer is completely removed, lay some baking/parchment paper over the print and heat it again for another 10-15 seconds. This will ensure the print stays down strong.
NOTE: Applying heat from an iron directly to a jersey or to the print may cause the print and jersey to melt. That is why you must place a layer in between, such as baking paper.
AFTER INSTALL:
If you notice that the print on your jersey is starting to lift or peel, don’t worry. Cover the print with baking paper and apply heat and pressure as described earlier. The material used for the print becomes sticky under high temperatures, so even if it has been months since washing or wearing, reheating it will make it stick to the jersey as it should.
You may also find your jersey print becomes wrinkled during washing. You can fix this by reheating it with parchment paper.
Do not dry clean jerseys with prints applied. Machine wash cold/warm only (not hot) with only mild detergents. Turn inside out to wash, too, to avoid zippers/buttons from other garments scratching the print. Hang to dry; do not tumble dry.
If you need clarification on any part of the installation process, we recommend sourcing further guidance from one of the many online third-party tutorial videos.